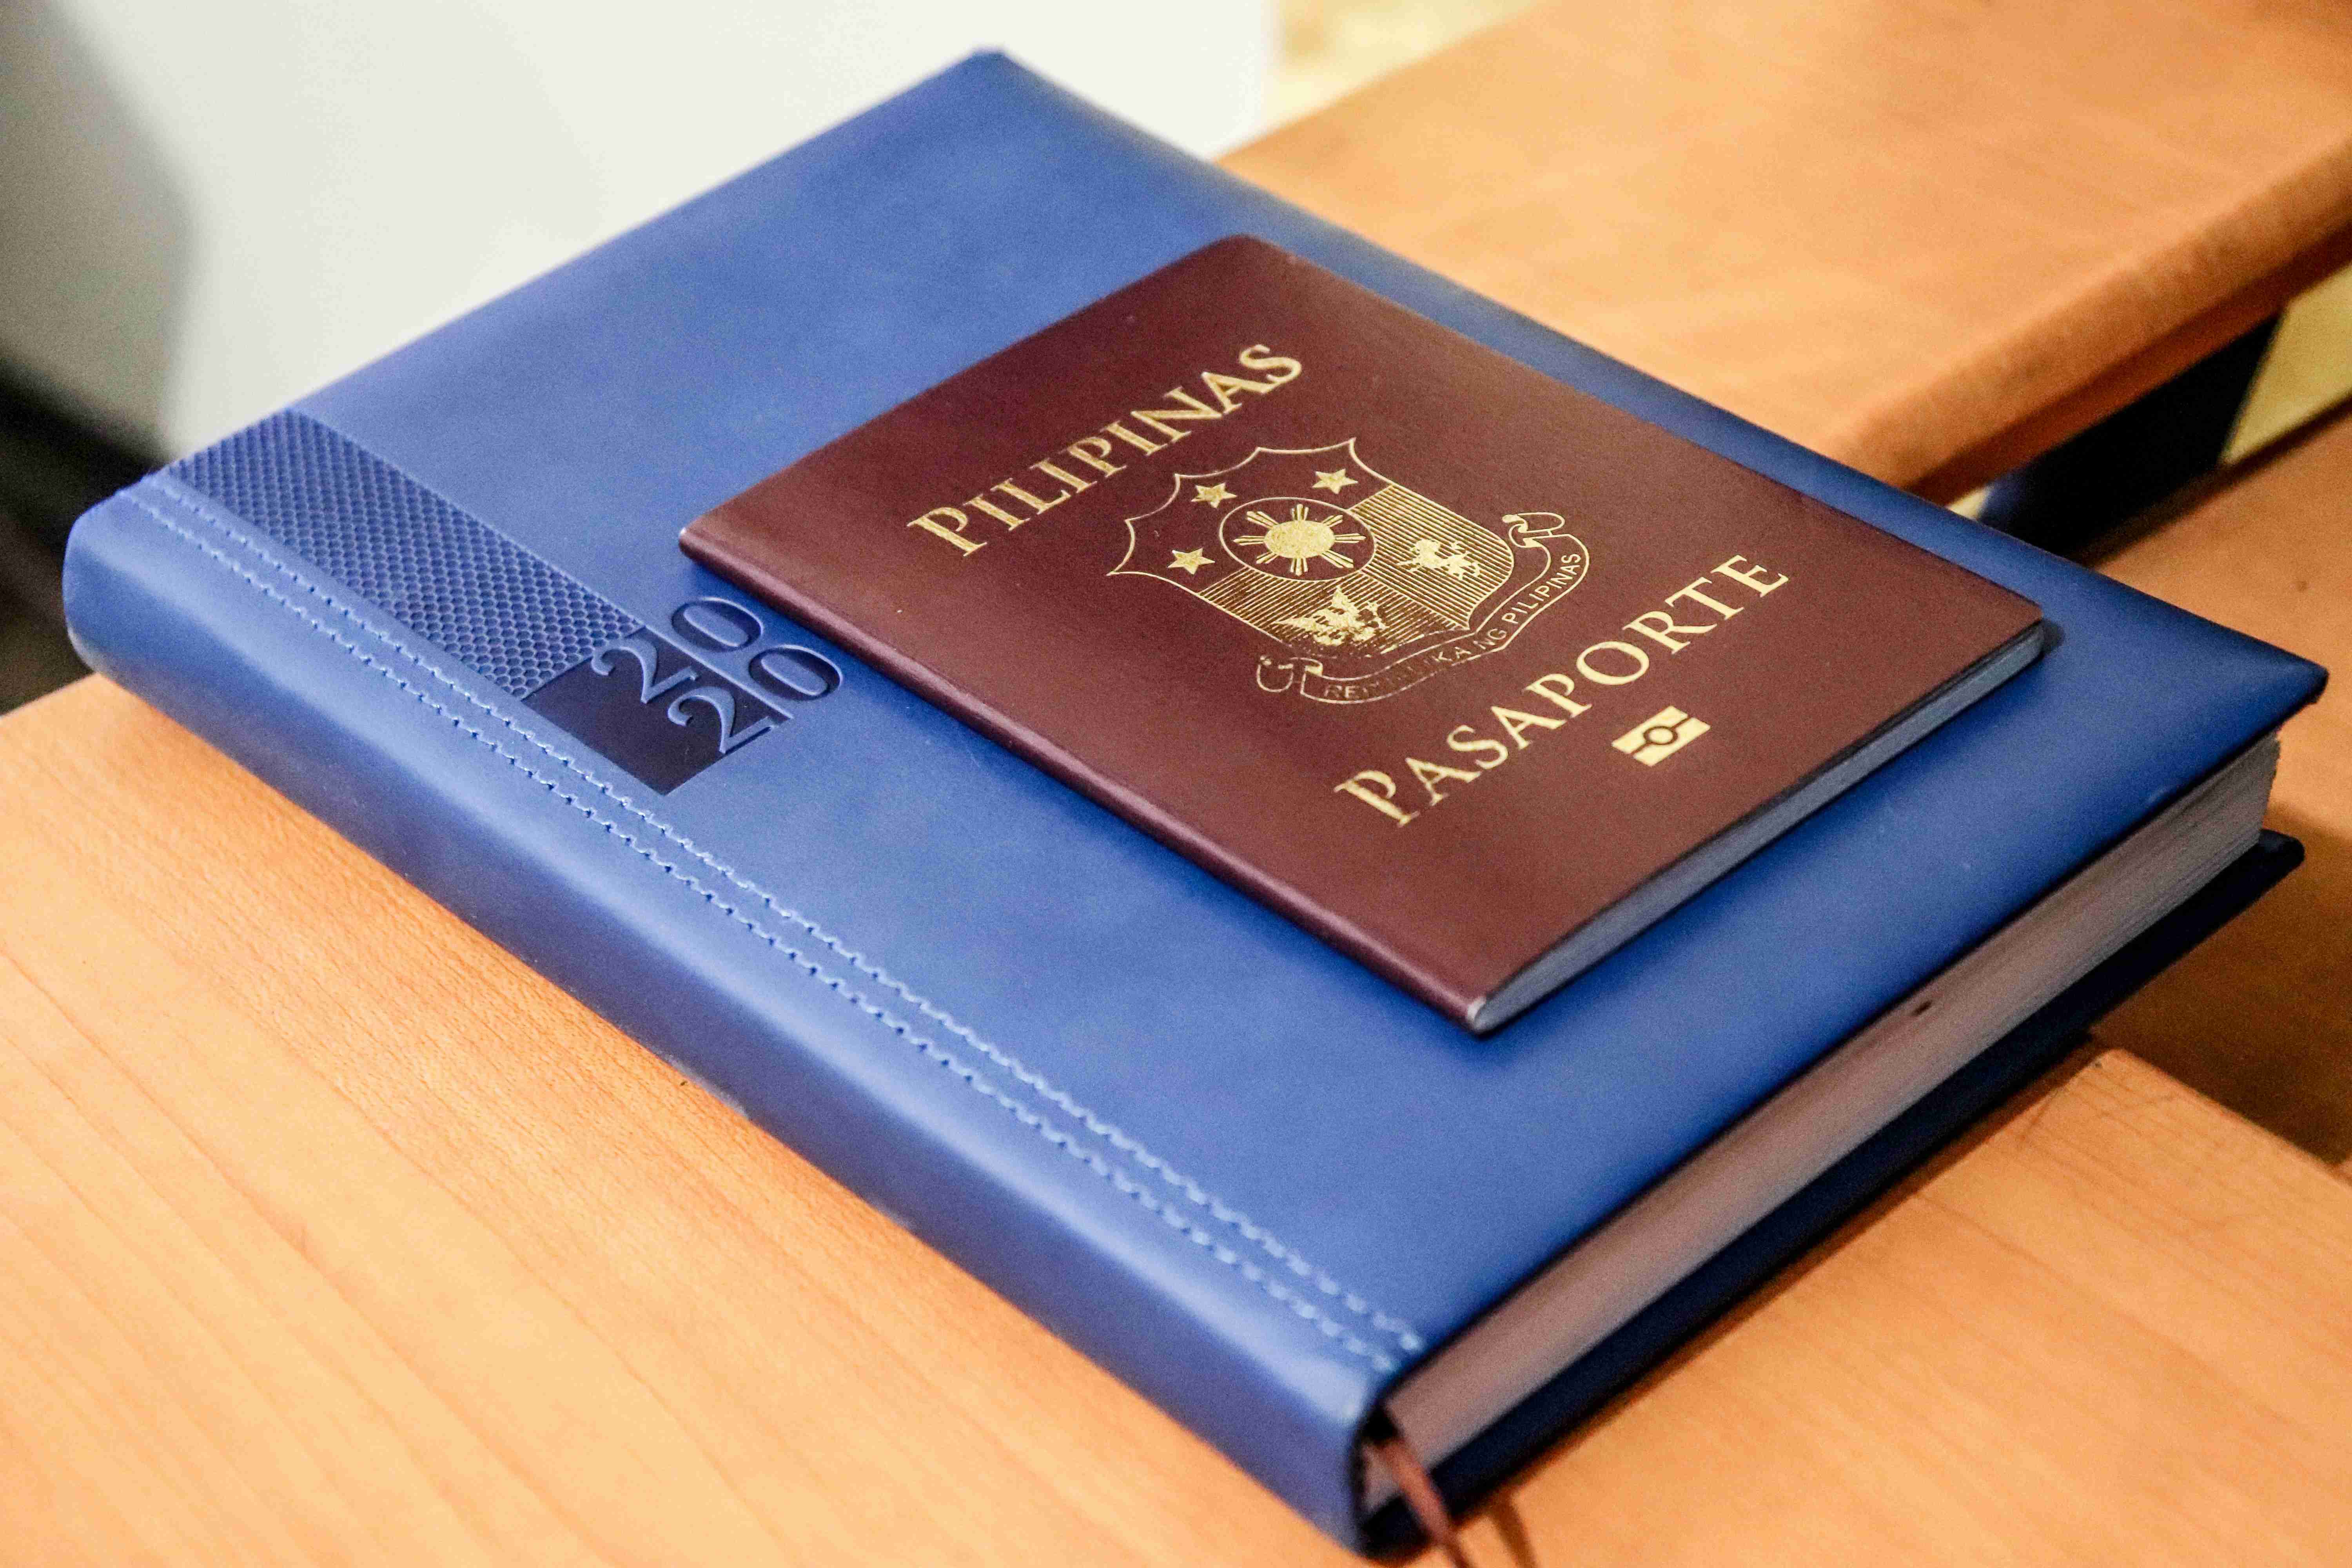
Navigating the twists and turns of bureaucratic processes can be as puzzling as solving a Rubik’s cube blindfolded. Yet, securing a passport in the Philippines doesn’t have to feel like an enigma wrapped in red tape.
Whether planning your first overseas adventure or renewing for future travels, we’ve got the essentials covered so you can step up and prepare at every stage—from gathering documents to smiling for that photo. You may also need your passport when learning how to obtain insurance in the Philippines.
1. Understanding Passport Necessity
Before starting, understand why securing a passport is pivotal in broadening your horizons beyond the Philippine archipelago.
Legal Requirement
A passport is not just a travel item. It’s a must-have for leaving the country. If you want to go abroad, you need one by law in the Philippines. You have to be Filipino, too, and not just live there. And you need to get this right to be able to travel.
Travel Essentials
Think of your passport as your primary travel buddy. It’s what proves who you are when you’re far from home. When visiting other countries, they may ask for a visa too. And guess what? No passport means no visa.
Also, after having fun overseas, like on beaches or theme parks, everyone has to return home eventually. This is where your trusty passport comes into play again; it gets you back into the Philippines without hassle.
2. Eligibility Criteria
Now that we understand the significance of passports for international travel let’s explore the eligibility criteria for applying for one in the Philippines.
Filipino Citizenship
To get a passport in the Philippines, you must show that you are a Filipino citizen. You can provide official papers like your birth certificate or naturalization documents through the legal process if you become a Filipino. These documents prove who you are and where you come from.
For those with dual citizenship, it’s important to bring extra paperwork. This could be your Identification Certificate of Retention/Re-acquisition of Philippine Citizenship or any other proof that shows your status as a dual citizen.
Being born in the Philippines or becoming a citizen later in life is valid for getting a passport. The government recognizes these two ways to citizenship when reviewing your application.
Valid IDs
When applying for your passport, having valid IDs is vital. The government should issue these and current–not expired! They help confirm who you say you are so no one else can pretend to be you.
Remember, expired or outdated IDs won’t work; they need to have future dates on them. Also, remember to make photocopies of these IDs because the Department of Foreign Affairs (DFA) needs them along with your application form.
Some examples of accepted IDs include:
1. Driver’s license
2. Social Security System card
3. Government Service Insurance System e-Card
4. Voter’s ID
Make sure all information on these cards is clear and easy to read.
3. Preparing Required Documents
After understanding the basic eligibility and the importance of valid IDs, gathering all the necessary documents to complete your passport application is crucial.
Birth Certificate
You must secure a passport before traveling the world and driving in the Philippines. To start, one key document is your birth certificate. If you’re applying for a passport in the Philippines for the first time, having this paper is crucial. Your birth certificate must come from the Philippine Statistics Authority (PSA) to ensure it is authentic and accepted.
The PSA issues these certificates on Security Paper (SECPA), a paper with unique features that show if it’s genuine. If your birth was registered late, more documents are needed. You might also have to bring proof of where you lived as a baby or other records.
Supporting Documents
Next are supporting documents, which could differ based on your situation. For example, if you married and changed your last name, bring your marriage certificate.
Sometimes, people must update their details due to court orders or adoption processes. In such cases, legal papers are also required.
Always remember: original copies and photocopies must be presented at the Department of Foreign Affairs (DFA) office when submitting any paperwork like this.
4. Choosing the Application Type
When applying for a passport, it is essential to decide between a new application and a renewal, as each process has its specific requirements and steps.
First-time Applicants
If you get a passport for the first time, you must show up in person. This is important because they must see you when they take your picture and get your fingerprints. You can’t do this part online or through someone else.
You also need to bring all the necessary papers with you, including your birth certificate and ID cards. Make sure every document is correct and complete.
For kids under 18, there’s special help available. If traveling alone, they often need extra papers, like parents’ marriage certificates or legal documents.
Renewal Process
When it’s time to renew your passport, remember that you have to give them your old one. They will check it before giving you a new one.
If your old passport got wet, torn, or damaged in any way, be ready for some more steps. You might have to fill out extra forms or explain what happened.
Renewing an e-passport is usually easier than starting from scratch because most of your information is already saved electronically.
5. Scheduling an Appointment
Scheduling an appointment is crucial when applying for or renewing your passport. It ensures you have a designated time to present your documents and complete the necessary procedures.
Online Booking
After selecting the type of passport application, you must schedule an appointment. You can only do this through the DFA website. Knowing that you cannot just walk in and apply for a passport is essential. Every applicant needs a confirmed appointment.
To start, visit the DFA website and choose your preferred date and time for the meeting. Make sure to pick a slot when you are free. This step is easy to do from any computer or smartphone with internet access.
Once you’ve selected your schedule, check your email. The DFA will send a link that you need to click on to confirm your booking to ensure no one else takes your spot.
Remember: if there is no confirmation, an appointment won’t be waiting for you!
Appointment Fees
Now, let’s talk about money—specifically, how much this service costs. When booking online, prepare to pay some fees once your slot is confirmed.
The amount depends on how quickly you want your passport processed:
- Regular processing takes longer but costs less.
- Expedited processing gets it done faster but will cost more.
You’ll have different options when paying these fees:
1. Pay at authorized payment centers.
2. Use online banking services.
3. Select over-the-counter transactions at banks.
4. Some stores may offer payment services as well.
Make sure that whatever method you choose fits best without causing too much hassle.
Remember that these fees are not coming back once paid—they’re non-refundable. So double-check all details before sending off that payment; ensure everything is correct.
Scheduling an appointment without trouble means following these steps closely and paying attention. By doing so, securing a passport becomes much smoother and easier than expected.
6. Completing the Application Form
Filling out the application form accurately is critical in the passport application process.
Online Form
The application process for a Philippine passport begins with an important step: filling out the application form. You can find this form online, which makes it easy to complete before your appointment. Remember to print this form on A4 paper, which is crucial. Do not use double-sided printing, as it’s not allowed.
Once printed, do not sign the document electronically. Your signature needs to be done by hand. So, after printing, take a pen and sign your form manually. This small act confirms that all information provided is accurate and that you are responsible.
Accurate Information
Providing accurate information on your passport application is non-negotiable. Every detail should match exactly what’s found in your official documents. Expect delays if there are mistakes or differences between what you write and what’s on your ID or birth certificate. Worse yet, these discrepancies might lead to outright rejection of your application.
It’s serious business if false information ends on your passport application; legal consequences could follow. Always double-check every filled field before submitting the printed form at your appointment.
Payment Channels
After filling out your application form, you must pay a processing fee. You have several options for this. You can visit a bank or a payment center or make an online transaction. Each option works fine, but choose what’s easiest for you.
Remember to keep your receipt after paying. This is very important because it’s proof that you paid the fee. On your appointment day at the Department of Foreign Affairs (DFA), they will ask for it.
Be careful with where you pay, too. Some places charge a convenience fee to help you pay.
Fee Structure
The cost of getting a passport can be different. There are two main types: regular processing and expedited service.
Regular service takes longer but costs less money than expedited service, which is faster but more expensive.
Sometimes there might be other fees too:
1. If you lost your old passport.
2. If there are penalties, like if you didn’t show up when you were supposed to.
It’s wise to check the cost on the DFA website before doing anything else to avoid surprises about money later.
7. Attending the Appointment
Once all the paperwork and payment are completed, attending your scheduled appointment is the next step in your passport application process.
Personal Appearance
After you have paid the processing fee, your next step is to attend your scheduled appointment at the Department of Foreign Affairs (DFA) office. Everyone who wants to secure or renew their passport must have a personal appearance. You must be there yourself; sending someone else won’t work.
At the DFA office, they will take your picture and fingerprints. These are called biometrics, which help ensure that each passport belongs only to one person. It’s like giving your passport its unique fingerprint! If you’re not an adult, don’t worry – bring a parent or guardian.
Remember, even if you’ve had a passport before, you still need to show up in person when you need a new one. Some people, such as senior citizens, don’t have to do this under certain conditions.
Dress Code
Now let’s talk about what to wear on appointment day. The DFA asks that everyone comes dressed properly because how we dress is important when we go places where official business happens.
Guys and girls must wear shirts with collars — no tank tops or sandals allowed! Think of it like going somewhere special; dressing nicely shows respect for the place and yourself.
You also want to avoid wearing lots of jewelry on appointment day because it could get in the way during biometric capture. Imagine trying to take a good photo, but something keeps shining too much—that can happen with jewelry!
Here’s what’s best:
- Wear shirts with collars
- No sleeveless outfits
- Shoes instead of sandals
These rules make sure everyone looks neat and ready for their official photos!
8. Tracking Passport Status
After attending your passport appointment, you might wonder what comes next. It’s time to track the status of your passport application.
Online Tracking
Once you’ve submitted all necessary documents to the Department of Foreign Affairs (DFA), tracking your passport is easy. You can do this online using a unique tracking number post-appointment. This number is essential, so keep it safe!
To check the progress, go to the DFA website and enter your tracking number in their system. You’ll see if your passport is still being processed or if it’s ready for delivery or pickup. The best part? You don’t have to call or visit them; use any device connected to the internet.
Updates on your application will also come to you via email or text. Ensure the contact details you provided are correct so these updates reach you without trouble.
Delivery Options
When applying for a Philippine passport, there’s an option for everyone when it comes time to receive it.
If leaving home isn’t inconvenient, choose a home delivery service. There will be an extra fee, but think about how much time and effort it saves! Just give them your address details accurately — getting this right means no delays in receiving that precious travel document.
On the other hand, some folks prefer collecting their passports themselves from a designated DFA office nearby. If that sounds up your alley, opt out of delivery during application and plan a trip back when notified that it’s ready for pick-up.
Whether you choose a delivery service or personal pickup at DFA offices, remember that accurate information leads to faster processing times!
9. Receiving Your Passport
Once your passport is ready, the final step in this exciting process is securely receiving it, paving the way for future travels.
Claiming Process
Once you’ve tracked your passport status and know it’s ready, the next step is to get it in your hands. Bring your receipt when you go to pick up your new passport. If this isn’t your first passport, remember to take the old one with you for renewals.
Sometimes, people can’t fetch their passports themselves. In such cases, write an authorization letter. This allows someone else to collect it for you. Make sure they have:
- The authorization letter.
- Their valid ID.
- A copy of your valid ID.
Remember that if a passport isn’t claimed within six months, it might be gone for good. It could be canceled or even destroyed.
Validity Period
Passports are super important documents that let us travel across borders. But they don’t last forever! Adults get ten years out of their passports before needing a new one. For kids under 18, it’s five years.
Always check the expiration date! You don’t want surprises when planning a trip abroad, and expired passports are unsuitable for international travel.
Wrapping Up

Securing a Philippine passport involves a series of straightforward steps. Although it might appear complex at first glance, each step is designed to ensure the integrity and security of your travel document. Ultimately, by following these procedures diligently, applicants can smoothly navigate the path to obtaining their passport, unlocking the door to global exploration and opportunities.
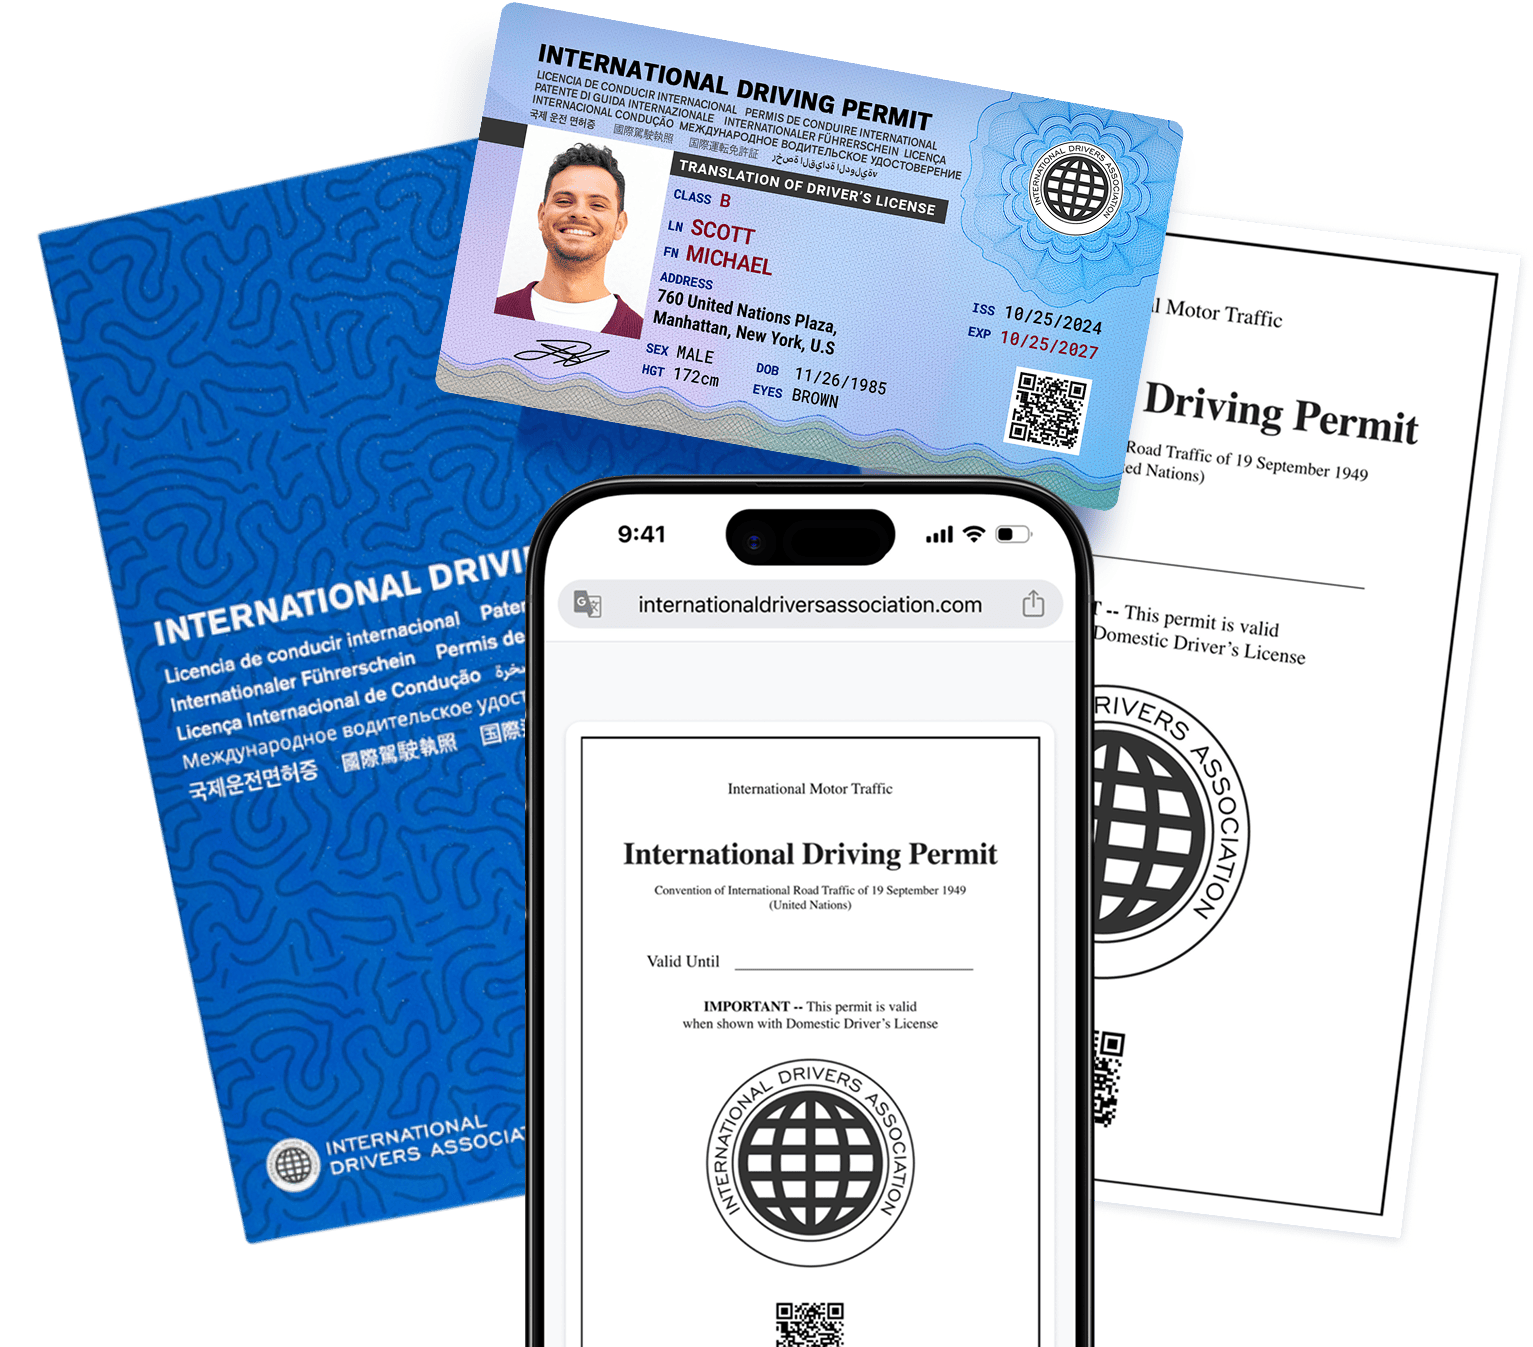
Ready to explore the Philippines? If you’re a foreigner wanting to drive around, check out our article on getting an International Driving Permit for the Philippines for a safe and hassle-free trip.